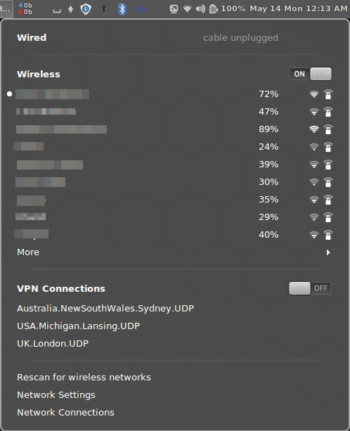
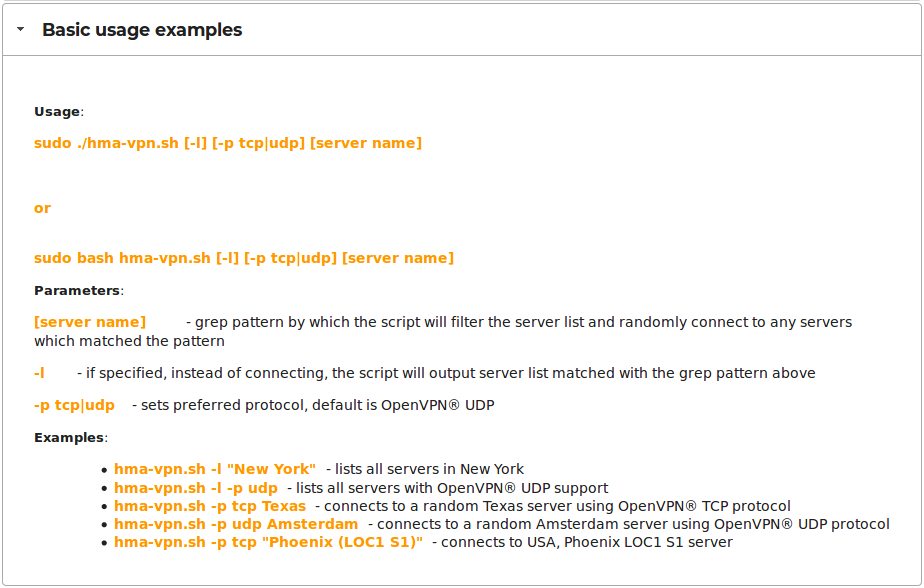
 You can of course setup per location with Network Manager GUI. And you can use HMA script the usual way (hma-openvpn.sh or hma-vpn.sh) with linux CLI. Network manager GUI method is perfect if you only need to connect to 1 or 2 locations. HMA! Linux Scripts CLI is all the way perfect for everything if you’re frequent linux command line user and don’t mind typing your HMA Pro user/password login credentials over and over again.
However if you’re like me, ie. frequently connect to different countries & locations and are not so apt in using terminal too much, and annoyed by the fact that you’ve to type your HideMyAss Pro VPN username and password everytime you use HMA VPN client; your best solution is OpenVPN® via terminal using openvpn binary (the “manual way”)with a little improvisation. 
All of the steps described here are documented on support.hidemyass.com but they are scattered and may not be too evident to new linux users like me. If you wish to use the GUI method of Network Manager in Linux Mint with OpenVPN®, PPTP or IPSec setup,check the document here. However the IPSec method uses Shrew Soft VPN and for unknown reason I couldn’t connect successfully with that. And if you’d prefer HideMyAss recommended Linux CLI OpenVPN® Client – HMA! Linux Scripts, check the how to here. If you’d prefer OpenVPN® binary (the “manual way”), read on.
- HMA! Linux Scripts: hma-linux.zip
- All UDP & TCP VPN server configuration files in a .ZIP archive :vpn-configs.zip
- VPN configuration to use with Shrew Soft VPN client for IPSec protocol: shrewsoft-ipsec.zip. Useless for our setup today, but for Android IPSec VPN Setup, there is nothing better than this How to connect using IPSec protocol.
Now the actual how to Setup HMA Pro VPN for Multiple Locations with saved username & password in Linux CLI:
- Make sure you have openvpn package already installed, if not- do it simply by running
$ apt install openvpnin terminal. -
Download one-by-one single *.ovpn VPN server configuration files for your chosen location for TCP protocol or UDP protocol. Or
All config files in a .ZIP file mentioned above. - Make sure you’re in a folder where *.ovpn files are stored. For example ~/VPN. If not, do so by typing in terminal
$ cd VPN. - Now just run the OpenVPN® binary with one of the config files as parameter, like this in terminal:
$ sudo openvpn UK.UDP.ovpn - You will be asked for your HMA! Pro VPN account username and password, and after you correctly type them, the connection will be made.
- Save username and password to avoid this forever. Create “id-file.hma” file in the same folder where the *.ovpn VPN server configuration files is located. in our example in ~/VPN. The content of the “id-file.hma” file should only be username and password, one below the other with no additional entries.
username
password

- If you keep your UDP folder and TCP folder separate, you will have to put the “id-file.hma” file in each folder.I personaly use UDP and copied all preferred location files into same folder:

- Then you would need to edit the *.ovpn configuration file you would like to use (I will use UK.UDP.ovpn) by finding the: auth-user-pass entry inside and then add next to it the name of the credentials file (id-file.hma) so that it would read:

- Instead of editing each *.ovpn file one-by-one, you can use sed command using terminal
$ sed -i 's/auth-user-pass/auth-user-pass\ id-file.hma/g' *.ovpn
Make sure you’re in the same folder in the terminal while running the command. - Next time all you have to do is, navigate into the folder by
$ cd VPNand then type$ sudo openvpnin the terminal and drag the desired location configuration file onto the terminal and press enter. You will be asked to provide your sudo password, then it will connect you without asking your HMA username/password ever again. Once you see the terminal output reads"Initialization Sequence Completed", know that you’re connected.

- Finally check your IP from https://www.hidemyass.com/ip-info or any of your favorite tools.


